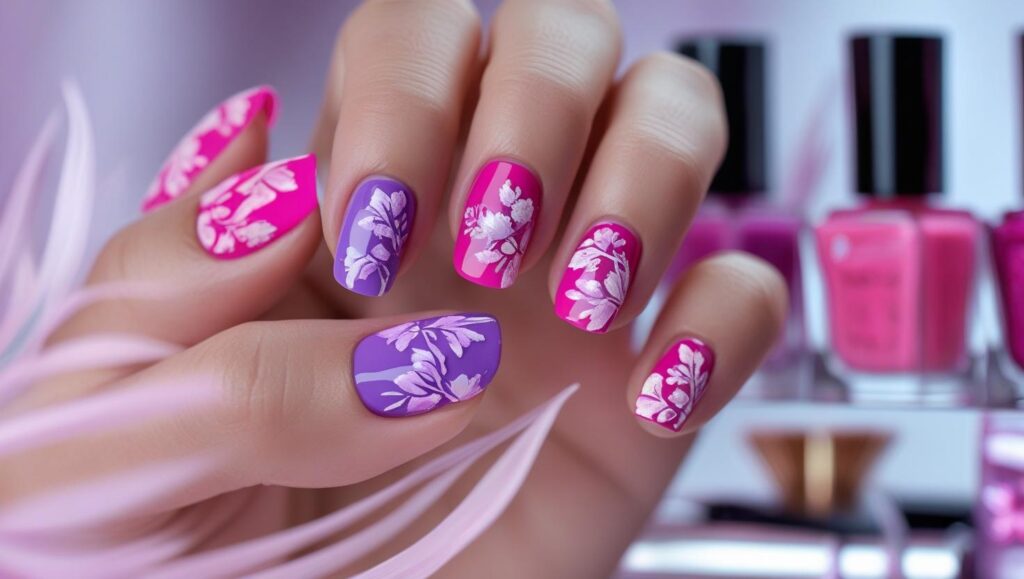
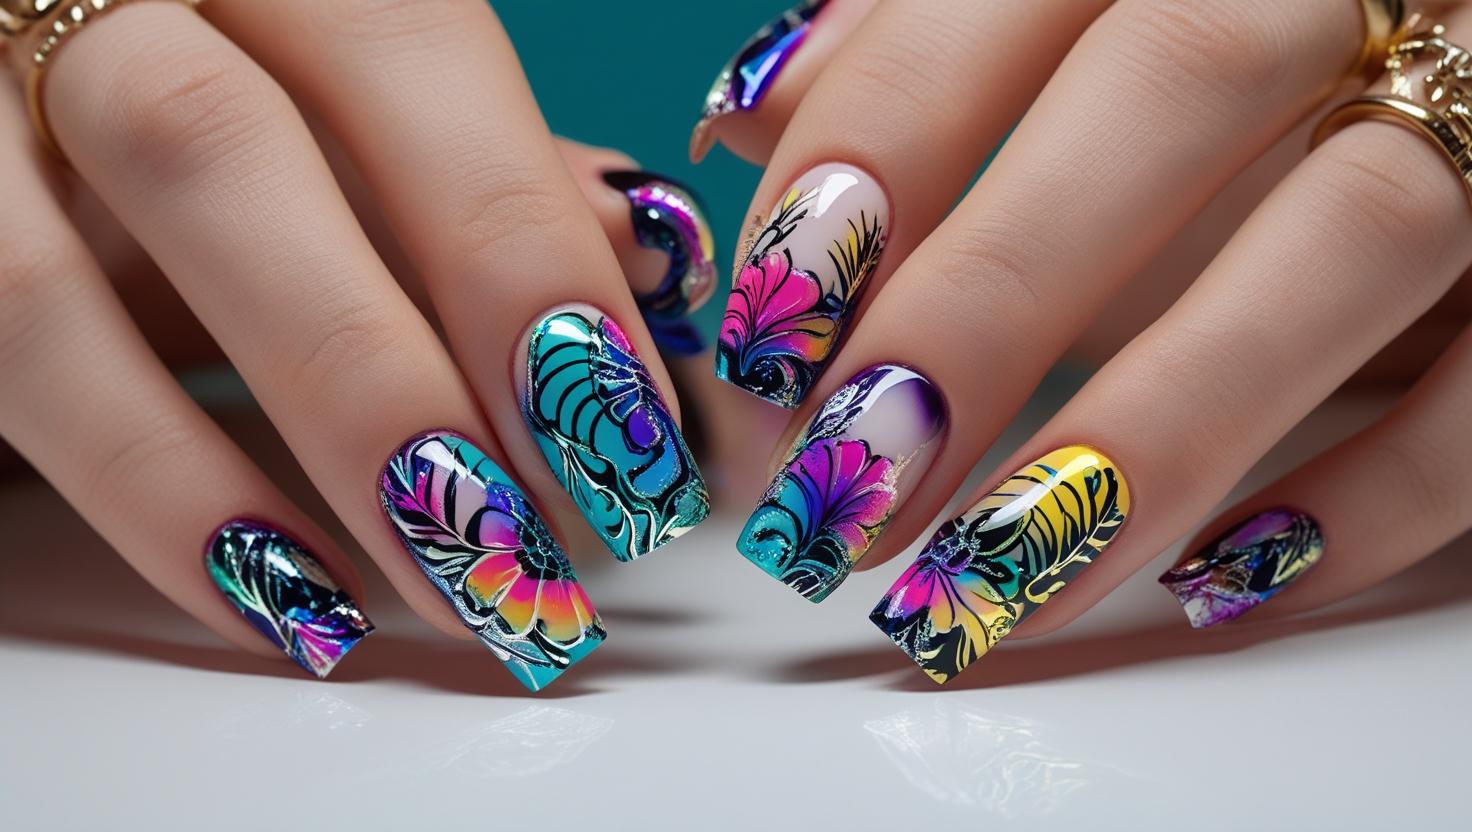
If you’ve been scrolling through nail art reels lately, you’ve probably come across mesmerizing videos where nail designs look too perfect to be freehand. Smooth gradients, intricate patterns, flawless flames, butterflies, or abstract shapes — all done in seconds. No, it’s not magic. It’s the rise of airbrush stencils for nails, and they’re changing the game in salons and at-home setups across the world.
What used to take 30 minutes of painstaking brushwork can now be done in under 5 — with sharper lines, cooler effects, and unmatched consistency. The best part? You don’t have to be a pro to get pro-level results.
So, what are airbrush stencils for nails? Why is every beauty influencer suddenly obsessed? And how can you use them to upgrade your nail art game? Here’s everything you need to know.
💨 What Are Airbrush Stencils for Nails?
Airbrush stencils are pre-cut, reusable designs made from thin, flexible materials (usually vinyl or plastic) that are placed over the nail before airbrushing. They act as a template, allowing artists to spray color only in specific shapes or patterns.
These stencils come in hundreds of styles — from animal prints and flowers to geometric shapes, abstract lines, flames, stars, hearts, smiley faces, and even full-on portraits.
With the use of a mini airbrush machine and these stencils, nail artists can create salon-level looks that are clean, sharp, and consistently symmetrical — without any brush skills.
🎨 Why Are Airbrush Stencils So Popular Right Now?
Nail art is no longer just about pretty polish. It’s become a form of self-expression — bold, bright, and eye-catching. But freehand nail art has its limitations. That’s where stencils come in.
Here are a few reasons why they’re trending hard in 2025:
✅ 1. Speed and Efficiency
No more spending hours drawing tiny flames or butterflies by hand. With airbrush stencils, a full design can be completed in just minutes.
✅ 2. Perfect Symmetry, Every Time
Doing the same design on 10 nails by hand? Not easy. With stencils, you get exactly the same shape on each nail, every time.
✅ 3. Beginner-Friendly
Even if you’re just starting out in nail art, you can still create designs that look like a professional did them.
✅ 4. Trendy Designs Made Easy
From Y2K-style graffiti to delicate lace patterns, airbrush stencils make it super easy to follow TikTok trends without struggling with tiny brushes.
✅ 5. Works on Gel, Acrylic, and Natural Nails
No matter what type of nails you’re working with, these stencils adapt perfectly — making them suitable for both salon and home use.

📈 The Social Media Boom – Influencers Swear By Them
Instagram and TikTok are exploding with nail videos using airbrush stencils. Creators like @NailedByNina, @AirbrushQueenXO, and @GlamTipsArtistry have gained millions of views with videos titled:
- “I tried airbrush nail stencils for the first time and THIS happened 😱”
- “This nail art hack changed everything 💅🔥”
- “Flame nails in 60 seconds? Yes, please.”
And it’s not just hype. Even celebrity nail artists are incorporating stencils into high-fashion looks. Red carpet events, fashion weeks, music video shoots — if you spot perfect gradient nails or detailed artwork, chances are a stencil played a role.
💅 How to Use Airbrush Stencils on Nails – Step-by-Step Guide
You don’t need a full salon setup to use these. Here’s how you can do it from your bedroom vanity:
What You’ll Need:
- Mini airbrush machine (many are available online starting at ₹3000 / $40)
- Airbrush paint (safe for nails – water or alcohol-based)
- Your chosen stencil design
- Base coat and top coat
- Nail polish (gel or regular) as your background color
- Clean-up brush and remover (for edges)
Step-by-Step:
- Prep Your Nails: Shape, buff, and apply a base coat. Let it dry fully.
- Apply Your Base Color: Usually a light color works best (white, nude, pastel).
- Position Your Stencil: Make sure it’s firmly in place to avoid bleeding.
- Spray the Design: Hold the airbrush tool about 2–3 inches from the nail. Spray gently.
- Remove the Stencil: Carefully lift it off while the paint is still slightly wet.
- Let It Dry Completely. If using gel paints, cure under a lamp.
- Seal With Top Coat: This locks in your design and gives it that glossy finish.
Boom — professional nail art done in minutes!
🔥 Top 10 Trending Airbrush Stencils Designs of 2025
Can’t decide which stencils to get first? These are the styles dominating Pinterest and Insta right now:
- Y2K Flames – Bold, vibrant, and edgy
- Butterflies – Delicate pastel butterflies on nude bases
- Graffiti Text – Words like “Love”, “Vibe”, or initials
- Stars & Moons – Cosmic, dreamy designs
- Checkerboards – Retro but still chic
- Drips & Splatter – Abstract and artsy
- Zebra/Leopard Print – Always a hit in bold colors
- Swirls – Perfect for minimalist aesthetic nails
- Smiley Faces & Emojis – Fun and playful
- Lace or Fishnet Patterns – Sultry and classy
Most stencil packs come with 10–50 designs, and many brands even offer custom stencil printing.
🛍️ Where to Buy Airbrush Stencils for Nails
The popularity of airbrush nail art means more and more brands are jumping in. Here are some places where you can find high-quality stencils:
Online Marketplaces:
- Amazon
- Etsy
- AliExpress
- Flipkart (India)
Nail Supply Stores:
- Born Pretty
- Modelones
- Makartt
- Naio Nails
- Daily Charme
Local Beauty Stores:
Many salons or nail studios sell stencils directly or can order them for you.
Prices range from ₹200–₹1000 ($5–$20) depending on material and number of designs.
🙋♀️ FAQs About Airbrush Nail Stencils
Q: Do you need a special airbrush machine?
A: Yes, but it doesn’t have to be expensive. Many affordable, compact machines are designed specifically for nails.
Q: Can I reuse the stencils?
A: Most stencils are reusable 5–10 times if handled carefully. Clean them after each use.
Q: Will they work on short nails?
A: Absolutely! Just choose smaller-sized stencil designs or trim them to fit.
Q: Are they beginner-friendly?
A: 100%. That’s why they’re so popular — you don’t need steady hands or art skills.
💡 Pro Tips from Nail Artists
- “Always test spray before going to the nail” – get a feel for the airbrush distance.
- “Use a sticky base like a gel top coat before the stencil” – helps the design stay crisp.
- “Clean your airbrush gun regularly” – clogged nozzles can ruin the look.
- “Layer multiple stencils for unique looks” – mix flames + butterflies, or stars + text!
✨ Final Thoughts – Why You Need Airbrush Stencils in Your Kit
Airbrush nail stencils are more than just a trend — they’re a revolution in how we do nail art. They’ve made detailed designs more accessible, faster, and cleaner than ever before.
Whether you’re a professional nail technician or someone who just loves experimenting with beauty at home, stencils can unlock a whole new level of creativity.
In a world that’s constantly chasing new trends and styles, one thing is clear: airbrush stencil nails are here to stay, and they’re only going to get bigger from here.
So the next time you want to wow your friends, go viral with your nail art, or simply treat yourself to something unique — grab that stencil, power up the airbrush, and spray your way to perfection.


Leave a Reply