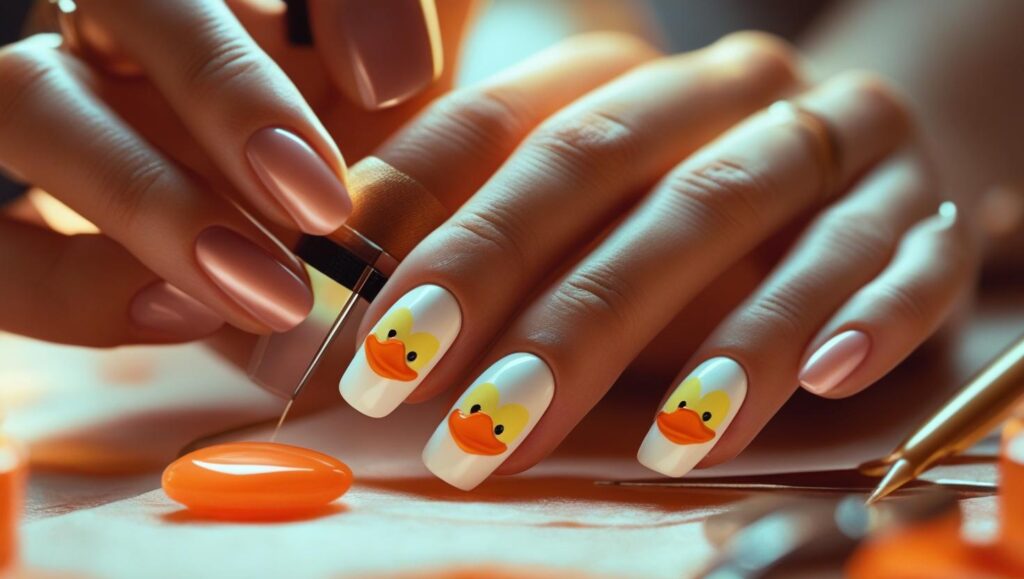
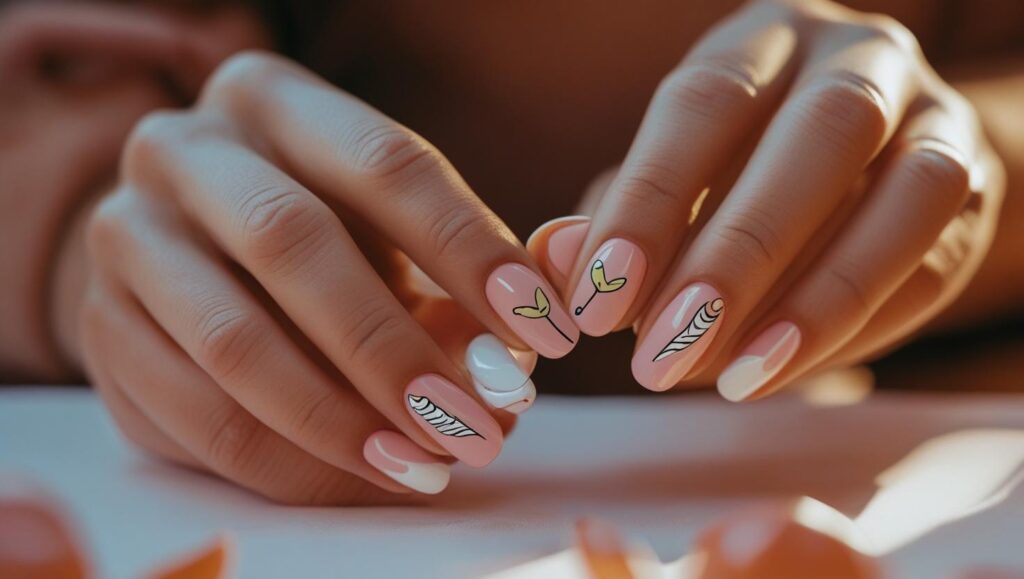
When it comes to bold, eye-catching nail styles, duck shape nails—also known as flared nails—are making a strong comeback. Their unique silhouette, wide at the tip and narrow at the base, mimics the shape of a duck’s foot, providing a dramatic and unconventional canvas for nail art lovers. If you’re wondering how to achieve duck shape nails at home, this detailed, step-by-step guide will walk you through everything from prep to polish.

What Are Duck Shape Nails?
Duck shape nails are a type of nail extension that flares out toward the tip, creating a trapezoidal or “fan-like” shape. Unlike coffin or almond nails, duck nails embrace a bold and maximalist aesthetic, often embellished with gems, stickers, 3D art, and more. Ideal for expressing creativity, they’re particularly popular on platforms like TikTok and Instagram.
Tools and Materials Needed for DIY Duck Nails
Before beginning the process, ensure you have all the necessary tools and materials:
- Acrylic nail kit or gel nail extension kit
- Duck nail tips or wide flare nail tips
- Nail glue
- Nail primer
- Nail dehydrator
- Nail file and buffer
- Cuticle pusher and trimmer
- UV/LED lamp (for gel nails)
- Acrylic powder and liquid monomer (for acrylic nails)
- Base coat and top coat
- Nail polish or gel color of choice
- Nail art decorations (optional)

Step-by-Step Guide to Achieving Duck Shape Nails at Home
1. Prep Your Natural Nails
Proper preparation ensures long-lasting results.
- Start by washing your hands thoroughly.
- Use a cuticle pusher to gently push back the cuticles.
- Trim any dead skin with a cuticle trimmer.
- Buff the surface of your natural nails lightly to remove shine.
- Cleanse with a nail dehydrator followed by a nail primer to improve adhesion.
2. Choose the Right Duck Nail Tips
Select pre-shaped duck nail tips that suit your desired length and flare. These tips are specially designed to fan out at the ends, so using regular tips will not achieve the same effect.
- Match each tip to your nail size carefully.
- Trim them if necessary, but maintain the signature flared edge.
3. Apply the Duck Nail Tips
- Apply a small amount of nail glue to the tip.
- Press it onto your natural nail, holding it in place for 10-15 seconds.
- Once secure, trim and shape the tips if needed using a nail file, but keep the wide silhouette.
4. Blend and Build the Nail (Acrylic or Gel Method)
For Acrylic Nails:
- Dip your acrylic brush into the monomer, then into the acrylic powder to form a bead.
- Apply the bead to the area where the tip meets your natural nail, blending gently.
- Build the structure of the nail by adding more beads and sculpting the flare.
- Allow to air dry, then file and buff.
For Gel Nails:
- Apply a thin layer of base coat and cure under UV/LED lamp.
- Apply builder gel to shape and strengthen the flare.
- Cure, file, and buff to refine the shape.
5. Shape and Smooth the Duck Nails
Once your structure is solid:
- Use a coarse file to reinforce the duck flare shape—wide at the tips, narrow at the cuticle.
- Smooth the surface using a buffer.
- Make sure each nail matches the others in angle, width, and length.
6. Polish and Decorate
Now comes the fun part: color and design.
- Apply a gel or regular nail polish of your choice.
- For gel polish: Apply color, cure, repeat if needed, then seal with a top coat and cure again.
- For regular polish: Apply color, let dry between coats, and finish with a high-gloss top coat.
7. Add Nail Art and Embellishments (Optional)
Duck shape nails are known for their bold designs. Add:
- 3D charms, glitter, rhinestones, decals, or even mini figurines
- Use nail glue or gel adhesive to secure large items
- Cure under the lamp if using gel-based adhesive

How to Maintain Your Duck Nails
To keep your duck nails looking fresh:
- Avoid exposing them to harsh chemicals.
- Moisturize your cuticles daily.
- Refill or replace the nails every 2-3 weeks.
- Use gloves while doing household chores.
Pros and Cons of Duck Shape Nails
Pros:
- Unique, eye-catching design
- Perfect canvas for elaborate nail art
- Strong and durable when done properly
Cons:
- Can be impractical for daily tasks
- Requires maintenance and upkeep
- Not suitable for minimalists or short nails
Duck Nails Design Ideas to Try
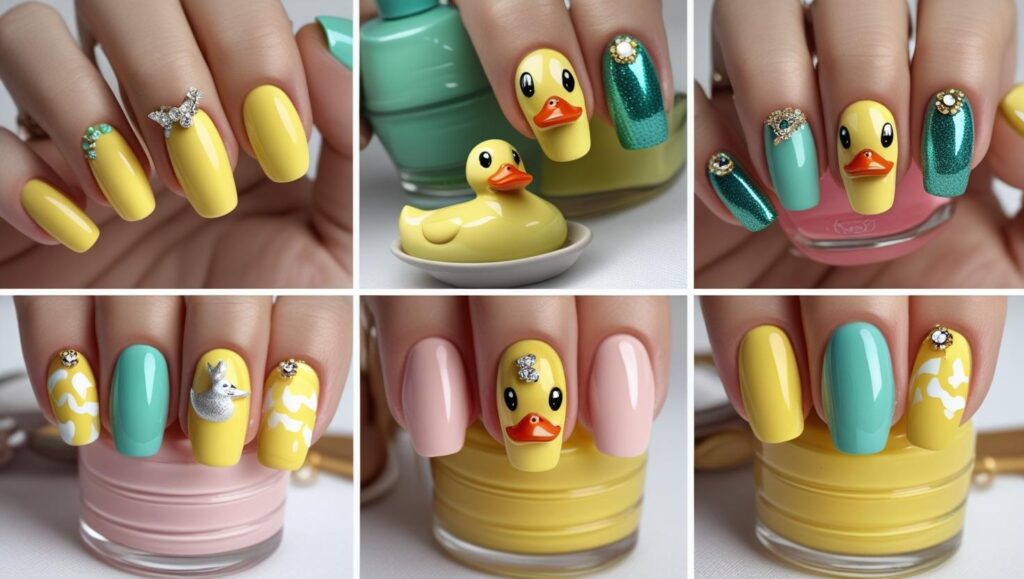
- Y2K Bling: Rhinestones, charms, metallic polish
- Cartoon Core: Characters, bold colors, 3D accents
- Luxury Look: Gold foil, nude tones, and delicate sparkle
- Neon Pop: Bright color combos with high-gloss finish
- Nail Sculptures: Hearts, butterflies, or flowers in 3D

Frequently Asked Questions About Duck Shape Nails
Can I do duck nails on short natural nails?
Not ideally. Duck nails require length and surface area, so starting with extensions is the best way to achieve the look.
How long do duck shape nails last?
With proper care, they can last 2-4 weeks, depending on the method (gel or acrylic) and how well they’re maintained.
Are duck nails safe?
Yes, as long as the products used are non-toxic and of professional quality, and you’re careful during removal to avoid damaging the nail bed.
How do I remove duck nails?
- For gel nails: Soak in acetone until soft, then gently push off.
- For acrylic: File the topcoat, soak in acetone, and lift off once loosened.
Avoid forceful pulling to prevent damage to the natural nail.
Final Thoughts
Mastering how to do duck shape nails at home not only opens up endless creative possibilities but also gives you the freedom to express your personality through your manicure. With the right tools, techniques, and a bit of patience, you’ll be rocking bold, custom nail art from the comfort of your own space.


Leave a Reply